
How to Mount Speakers on the Wall
Aside from getting an excellent set of speakers, other factors contribute to the overall musical experience you can get from your sound system. Room acoustics, amplification, and the quality of your music files also affect the quality of the sounds you hear.
A crucial factor to consider is speaker placement, and one of the best ways to do that is through a DIY speaker wall mount. It can boost a room’s aesthetics, save space, and improve sound quality. Below you will discover what powered speakers are, how to mount speakers on a wall, optimal speaker placement, and the necessary tools and equipment.
Before you try to determine how to mount speakers on a wall, you should consider several factors:
- Compatibility of the speakers to the wall mounts you’re using.
- The length of the cable you’re using, which should be able to reach the sound source.
- The structural integrity of the wall where you plan to attach your speakers.
- Accessibility of power outlets where you will plug your powered speakers.
When determining how to mount heavy speakers on a wall, it will require some planning to get the best setup for your room.
How to Mount a Speaker on the Wall
After determining what powered speakers are and choosing the speaker you will use, next you’ll decide how to mount heavy speakers on a wall. Here are the tools and equipment you will need:
- Mounts or speaker brackets
- Measuring tape
- A level
- Power drill with various drill bits
- Wall anchors
- Screws
- Wall wire channels, cable ties, raceways, clips, and cable conduits (wire management)
- Stud finder (for locating support beams and wall studs)
- Screwdriver
- Markers
It is important to note that your speakers may have a specific type of wall mount designed for them. Check the manufacturer’s instructions or user’s guide to determine the kind of mount you need.
Check with Your Landlord or Building Manager
Before you drill holes or apply strong adhesive, you must check with your property manager or landlord if you’re renting the property. Make sure you’re not breaking the lease terms by adding wall mounts. However, if you own the property, you can begin planning your setup without problems.
Choose the Right Spot for Your Speakers
The first step to mounting speakers is to choose the space where you will mount them. You should check several things when selecting the right spot on the wall.
Consider the following:
- Room Layout: Choose the spot that produces an even sound from your speakers. This will require some trial and error. Further, it is essential to remember that floors, bare walls, and windows reflect sound. At the same time, soft surfaces like carpets and upholstery absorb sound. In addition, make sure to pick a firm spot on the wall where the brackets can be secured firmly.
- Height and Ideal Distance: Check the user’s manual for your speakers’ recommended height and distance. Follow the manufacturer’s recommendations.
- Coverage: Position the speakers to direct the sound where you will be listening, such as on a sofa or chair in the living room.
Attach DIY Speaker Wall Mount
After selecting the spot where you will hang your speakers, choose the type of wall mount you will use. Mark the area where you will mount them. Next, use the appropriate mounting method depending on the type of wall mount you will use:
- L-Bracket: Use compatible steel wall brackets for heavier speakers. Some L-brackets can carry up to 120 lbs. Mark the positions of the screws with the help of a level to ensure they hang in a straight line. Pre-drill the holes for the brackets. Attach the brackets using screws. Your speakers will usually come with fixings that you can use to mount them to the brackets once they’re set up.
- Tilt and Swivel Mounts: These are like L-brackets and other fixed wall mounts. You will use the same steps to attach them to the wall. These mounts can be adjusted to change the speaker’s direction.
- Adhesives: If you’re not allowed to or don’t like to drill holes in your wall, your next best option is a strong adhesive. Mark the spot where you will mount your speakers, and apply the adhesives. Finally, attach the speakers accordingly. This method is best suited for smaller speakers.
- Command and Picture Hooks: Hooks can be attached to your wall using strong adhesives. Their capacities vary depending on the type of hook and adhesive available to you. Hooks can carry anywhere from 12 to 30 lbs. speakers.
Connect and Manage Wires
Once the speakers have been mounted, connect the wires from your speaker to your amplifier or sound source. Manage the wires using tie wires, cable conduits, or clips.
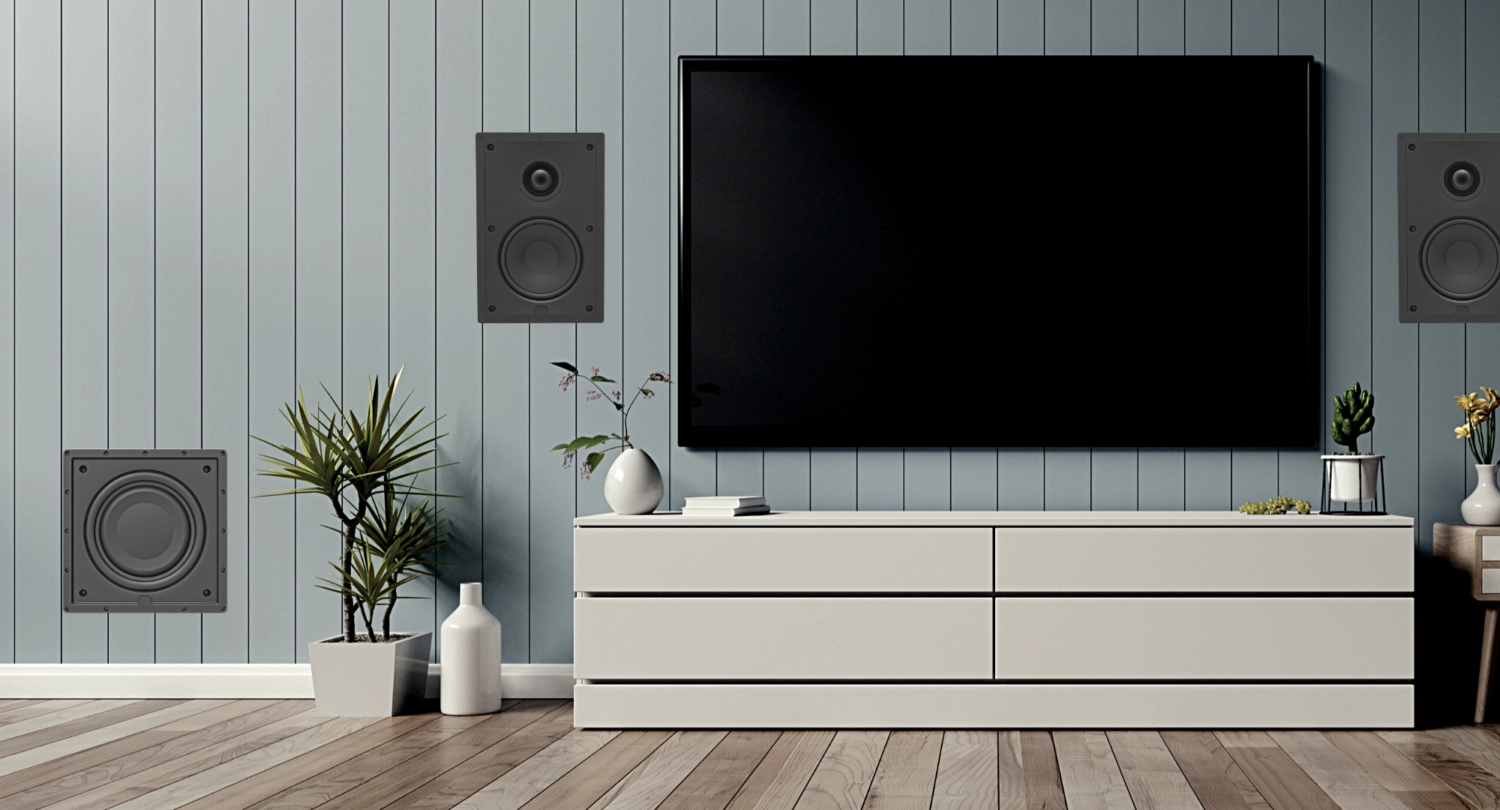
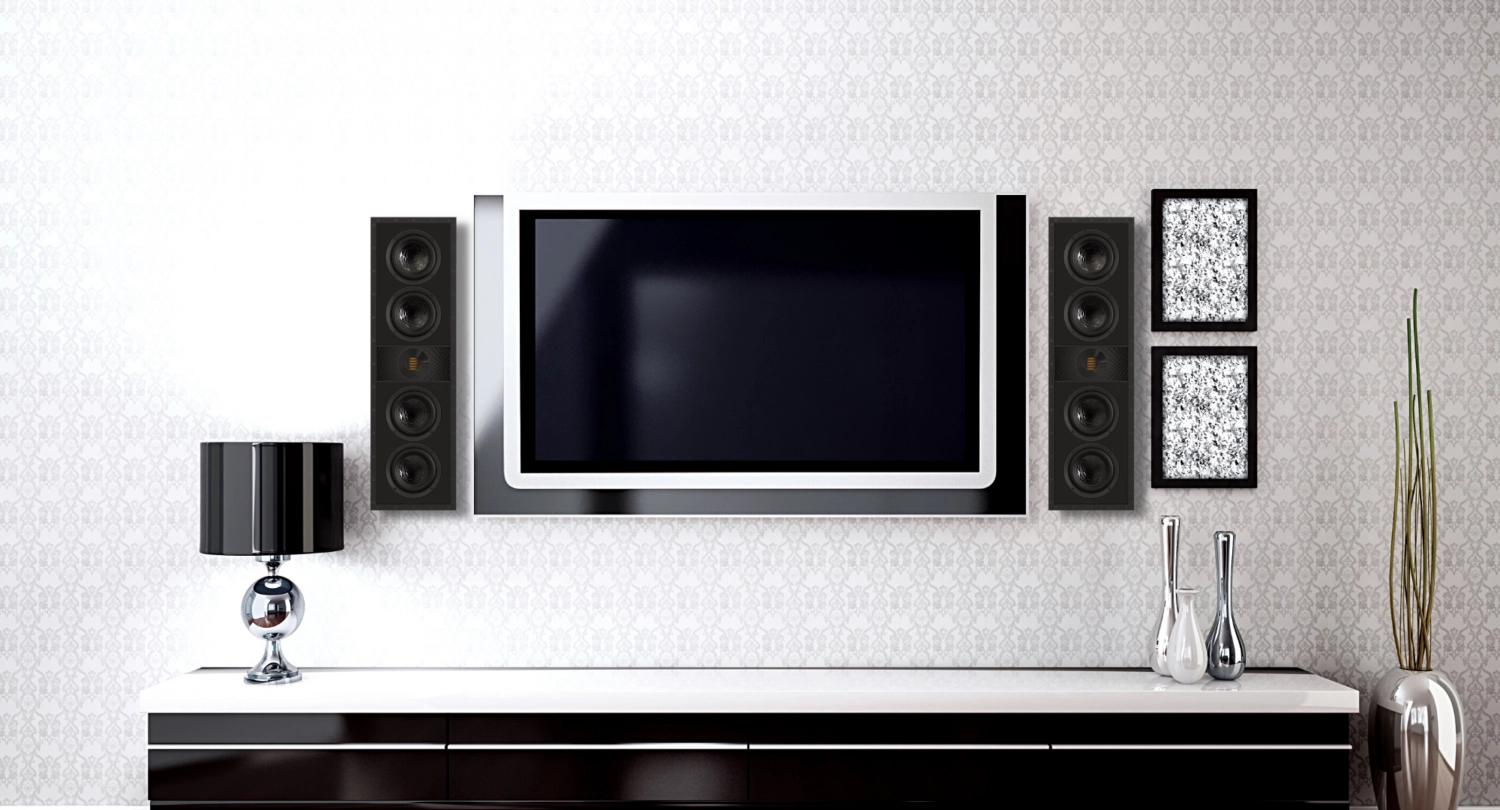
Wall-mounted speakers provide impressive sound dispersion. Further, they can be used to create immersive and balanced audio. Check out our selection of speakers that work best mounted on walls to create an exceptional audio experience.