
How to Wire a Home Stereo System – Connect Speakers to your Amplifier
You’ve got all the pieces and parts of a home stereo system, but now you need to know how to wire everything together. Fortunately, it’s not nearly as complex as you might think. With a few basic tools and the knowledge provided in this article, you’ll be able to connect your speakers and enjoy your music in no time!
If you’ve connected speakers before and just want a quick reminder, we’ve included condensed instructions below.
How To Connect Speakers to the Amplifier (Short Version)
- Turn off and unplug your Amplifier or Receiver.
- Connect one of the Positive (Red +) Plugs on your speaker wire/cable to your Speaker’s Positive (Red +) Terminal.
- Connect the Positive (Red +) Plug on the other end of your cable to your Amplifier/Receiver’s Positive (Red +) Terminal.
- Repeat with the Negative (Black -) Plugs: connect one end of the negative wire to the speaker’s Negative (Black -) Terminal, to and the other to your amp’s negative terminal
- Repeat the steps above for the remaining speakers.
- Turn on the amplifier and rock out.
However, if you’re new to connecting speakers, have equipment with non-typical connections, or just want to get the MOST out of your system, keep reading!
We provide more details, discuss tips on the best connection types, how to choose the best speaker wire, and more.
Turn Off the Power and Unplug Your Amp/Receiver Before You Disconnect or Connect Speakers and Components
It’s vital that you always turn off the power to your stereo system’s amplifier/receiver before working on it because there are components inside that could be damaged if electricity is flowing through them while you’re trying to work with them. For an extra level of safety, unplug the Amplifier or Receiver from the wall and wait 30 seconds for transformers to discharge.
This is less of an issue with modern amplifiers with built-in protection, but it never hurts to be extra careful when handling electrical components. This is for your own safety and the safety of your Amp and Speakers!
Connect Speaker Cable to Speaker Terminals
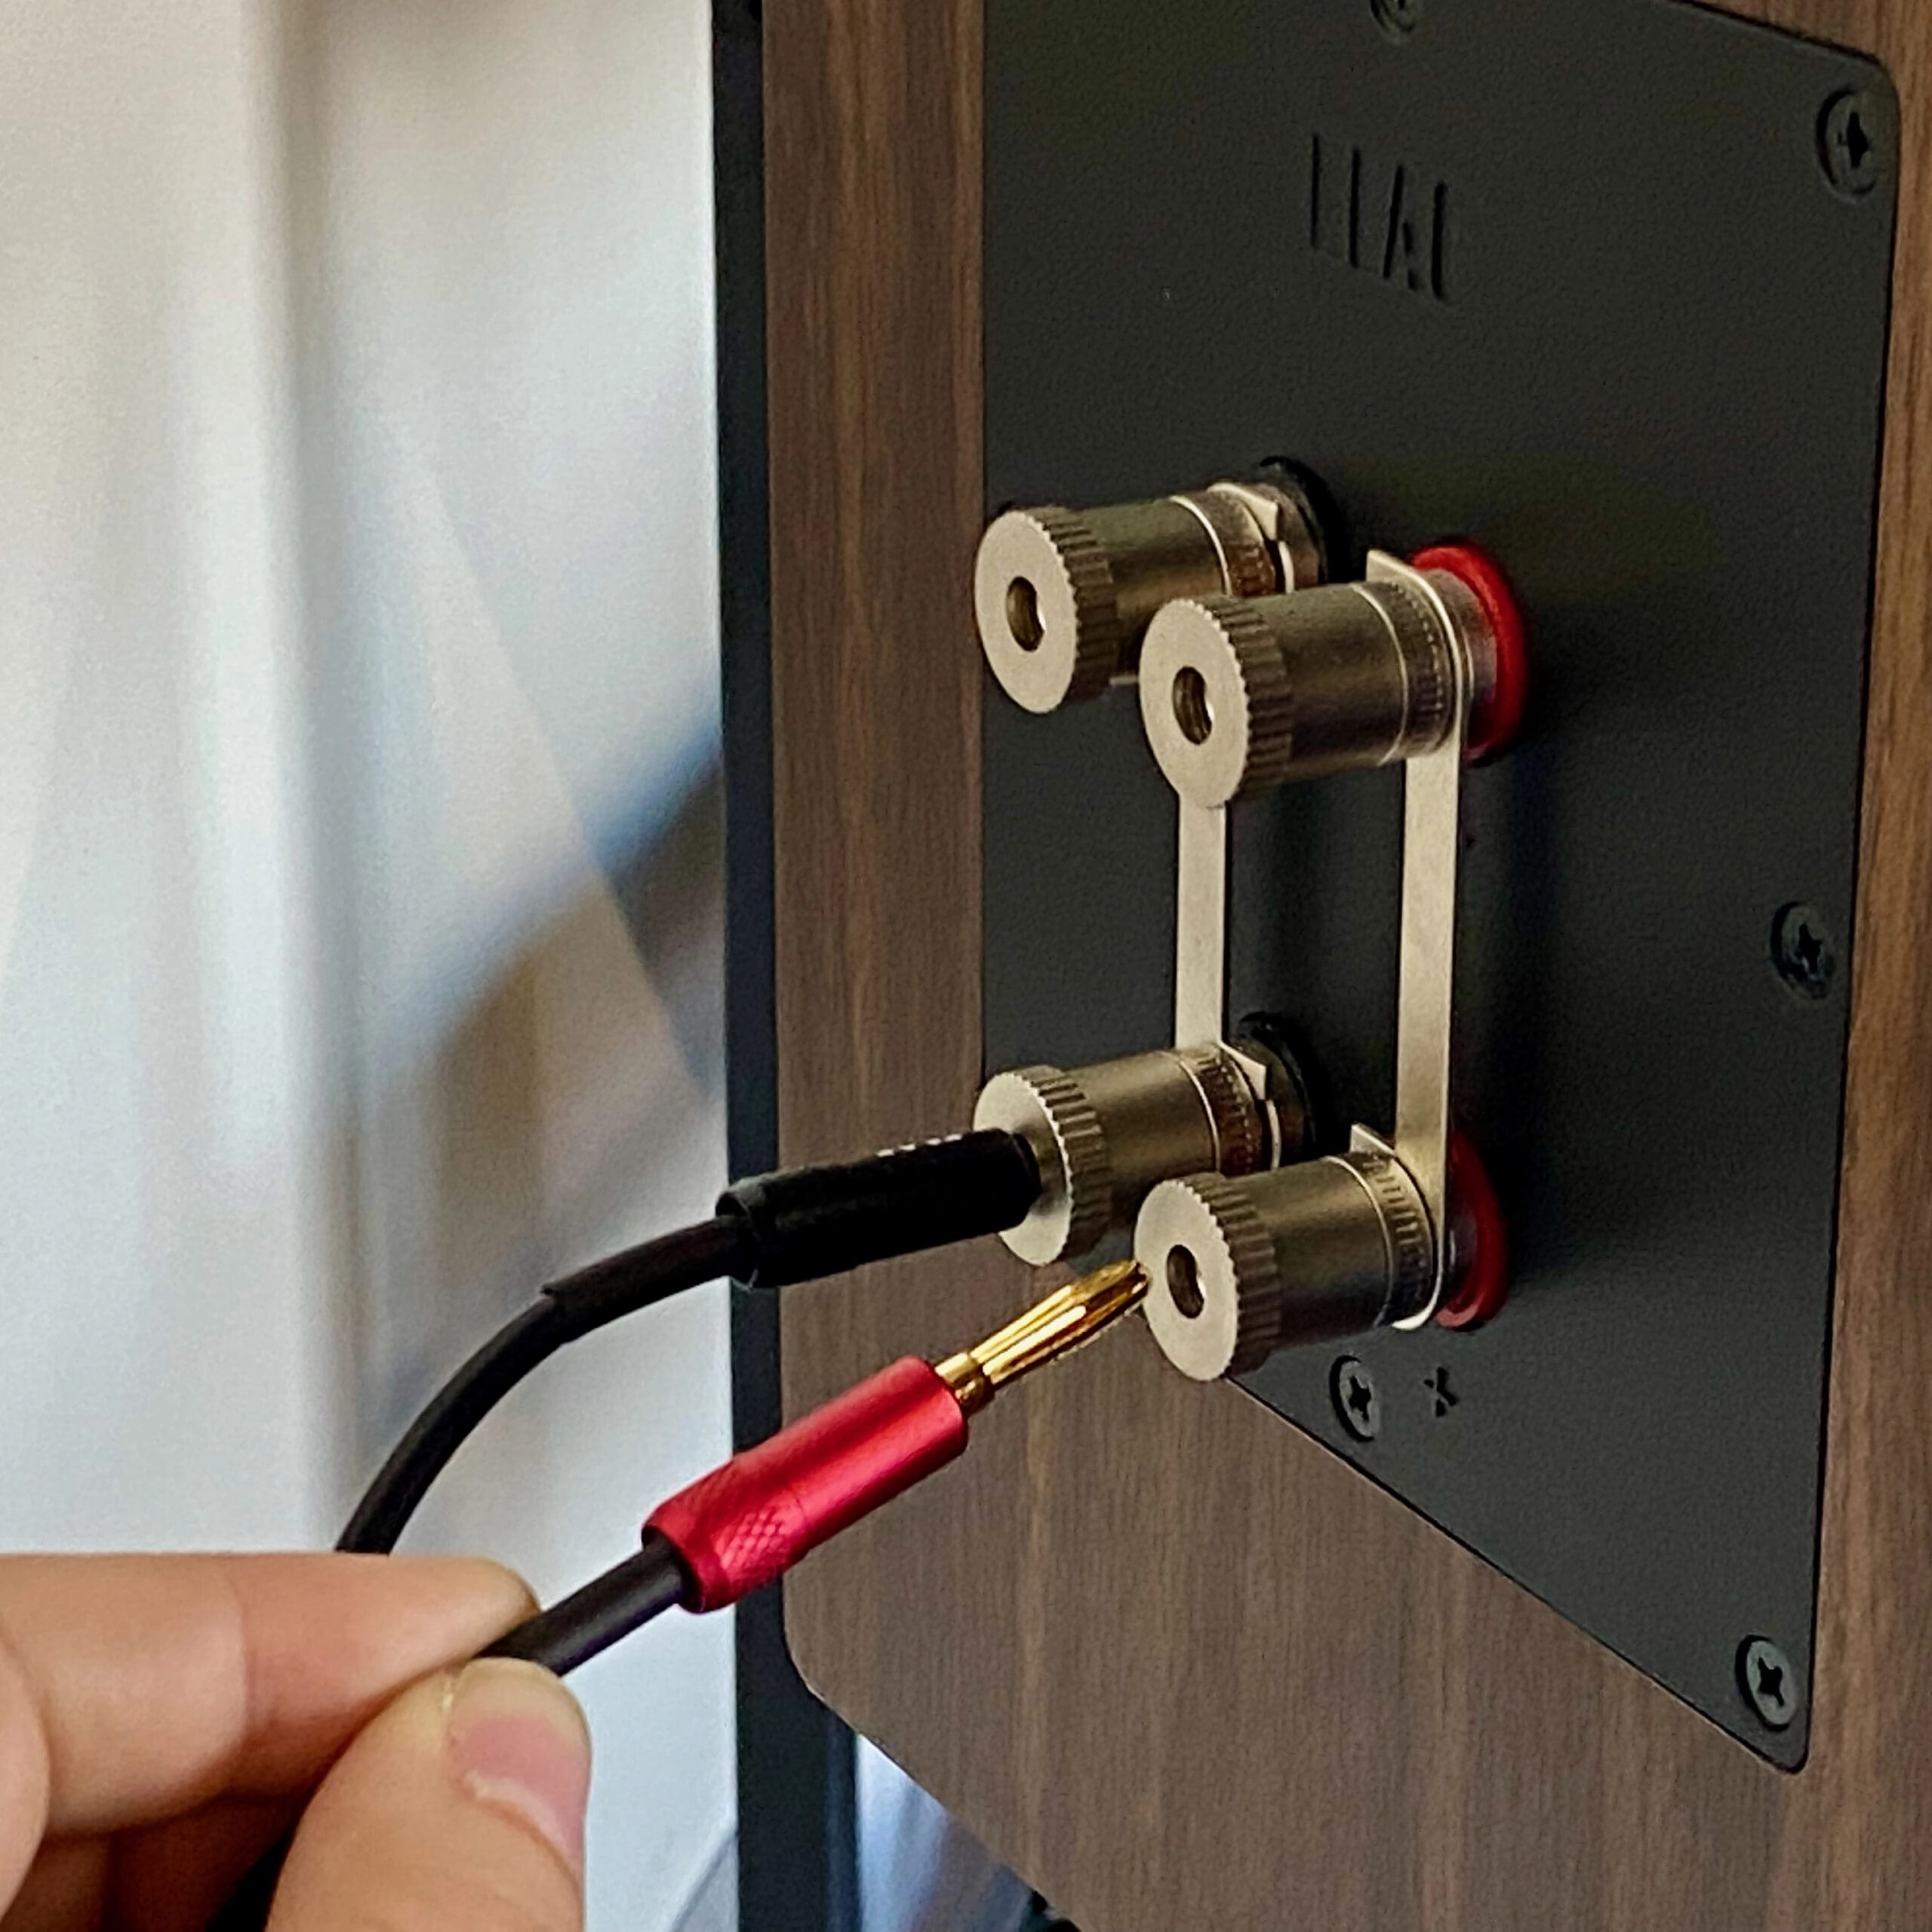
There are a few different types of plugs, the most common being Banana Connector, (shown above) which are generally easy to connect. Simply insert the plug into the slot.
If you have other Speaker Connector Types, scroll down to the section below or click here to jump to that section.
Each end of the speaker cable will have a Positive (+) Plug—generally represented by the color red—and a Negative (-) Plug represented by black.
AAttach one end of each speaker wire to a corresponding Positive or Negative terminal on each speaker.
Match Positive to Positive and Negative to Negative
Now connect the other end to your amplifier, ensuring you attach the corresponding Positive and Negative plugs to the amplifier.
Remember, it doesn’t really matter which wire you use, as long as you connect Positive to Positive, and Negative to Negative!
Mixing these up will wire your speakers out-of-phase, giving you a “hollow” sound with poor stereo imaging.
Now that we have that out of the way let’s talk about how you’ll be connecting your speakers to your system.
What’s the best Speaker Cable/Speaker Wire?

You may have heard stories of people using lamp cords as speaker wires. Lamp cable is an insulated copper wire, just like a speaker cable.
But with many things, just because you can, doesn’t necessarily mean you should.
These days, you can get speaker cable for relatively cheap, so it makes less sense today than going the lamp cable route.
There are many situations in which purpose-designed speaker cables make a lot more sense. However, there are two things to look out for:
- The materials used to manufacture the cable?: inside (core), outside (insulation), and the physical connectors.
- The gauge (thickness) of the wire: Thicker cables are better insulated, therefore less prone to interference and signal loss. Lower-gauge is thicker than high-gauge.
Higher-end speaker cables will have better insulation, reducing signal loss and shielding the cable against undesired interference. They’ll also generally use pure, oxygen-free copper, as opposed to lower-cost cables that often use copper-coated aluminum.
What Speaker Wire Gauge Do I Need?
Somewhere between 12 and 16 gauge is recommended.
- For long wire runs, high power applications, and low-impedance speakers (4 or 6 ohms), a thick speaker wire of 12 or 14 gauge is recommended.
- If it’s a short cable run—40 feet or less—to speakers with higher nominal resistance (8 ohm or 16-ohm speakers), then you should be ok with 16 gauge wire.
- While gauges higher than 16 will technically work, I wouldn’t personally recommend investing a chunk of cash into a system than trying to save a few bucks on cables.
Types of Passive Speaker Connection Plugs
Banana Plugs
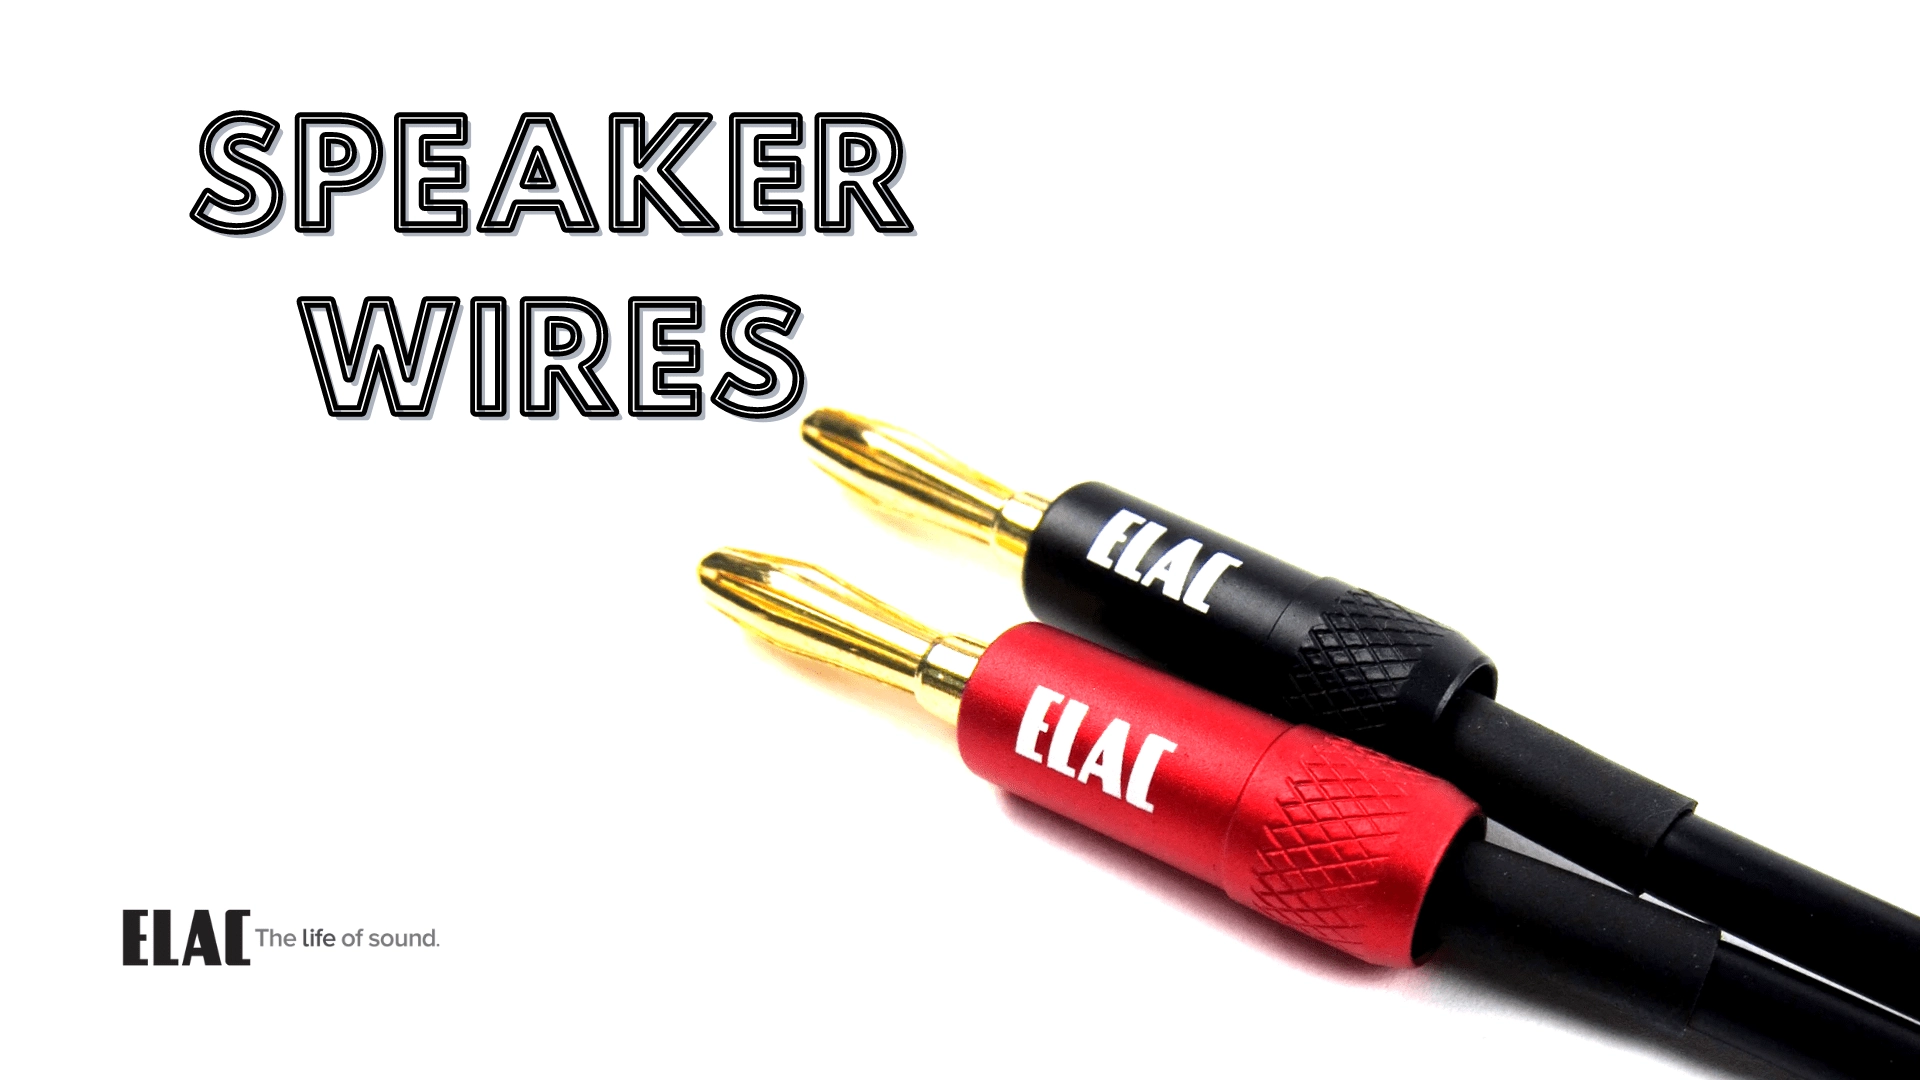
If your speaker can accept them, the optimal choice is Banana Plugs. They can plug in and out with ease and provide a secure connection. Higher-end wires will come with Banana Plugs, or they can easily be installed onto bare speaker wire for cheap.
While not essential, I use them on all my systems when possible. Trust me, once you’ve set up and torn down a few Home Theater systems with 7 or more speakers in your life… you will include banana plugs in all your systems. To connect:
- Unplug and turn off all components.
- Ensure you are plugging the positive connector into the positive terminals and the negative connector into the negative terminals (on both your speaker and your amplifier).
- Securely push plugs into terminal. That’s it!
Binding Post Terminals

It’s common for speaker plugs to come designed for Banana Plugs and Binding Post Terminals (see above). This gives you additional options:
- As described above, unplug, turn off, and ensure you’re plugging into the correct terminals.
- Unscrew the Binding Post Terminal enough that you can fit your bare wire.
- Don’t touch a live wire! Pull all the threads of your wire straight, and give them a slight twist.
- Insert wires under the screw cap on the terminal.
- Hold wire to ensure it remains inserted as you screw to tighten the binding post.
Spring Clips
Spring clips are fairly straightforward. They’re designed to use a spring to clamp down on the wire or plug.
- Same as above. Unplug, turn off, and confirm you’re plugging everything into the right place.
- If you’re not using the Flex Pin Banana Plugs mentioned above, pull your wire threads straight, giving a slight twist.
- Push up on the Spring Clip.
- Insert speaker wire or Banana Clip.
- Release the spring and ensure it has securely clamped down on your wire.
Deadbolt Flex Banana Plugs
Banana Plus traditionally aren’t designed to work with spring clips. However, you can find “Deadbolt Flex Banana Plugs” that will be compatible with spring terminals and Banana Plug connectors—giving you more options to connect to your audio components.
Hopefully, this blog post has helped. Hi-Fi audio can sometimes seem
confusing, but it’s actually quite easy once you know what you’re
dealing with. For even more resources, explore the “Guides” section of
our blog.